How to Print a PDF Poster at Any Size (Adobe Acrobat Settings Explained)
Actual Size, Fit, Poster mode, custom scale — Acrobat’s print dialog explained in plain terms for wall planners and large-format prints.
Home printer vs. print shop: two different scenarios
Adobe Acrobat’s print dialog has more options than most people ever use. For everyday documents, the defaults are fine. For a wall planner or poster, the wrong setting will either shrink your large PDF onto a small sheet or tile it across dozens of pages when you only wanted one clean print.
If you’re printing on a standard home or office printer — letter (8.5 × 11 in) or A4 — and your PDF is designed for a larger format like A1 or 24 × 36 in, you have two realistic options. You can tile the PDF across multiple sheets and tape them together, or you can print a scaled-down reference copy and accept that it’s not full size.
If you’re sending the file to a print shop, the shop’s large-format printer handles the full size in one pass. In that case, your job is to send the file without unintentional scaling. Both scenarios use Acrobat’s print dialog, but they need different settings. For a full guide to print shop options, printing at Office Depot, Staples, and FedEx covers what to expect at the counter.
Actual Size vs. Fit to Page
Open Acrobat’s print dialog (Ctrl+P on Windows, Cmd+P on Mac). Under “Page Sizing & Handling,” you’ll see several mode buttons. “Actual Size” prints the document at its defined dimensions, no scaling. If the PDF is 841 × 594 mm (A1), Acrobat will try to print it at that exact size. On a home printer with an A4 sheet, most of the document will be cut off — but for a print shop, this is the correct setting.
“Fit” (sometimes labelled “Fit to Page” or “Shrink to Printable Area”) scales the document up or down to fill the current paper size. On an A4 printer, a large A1 file gets shrunk to fit the sheet. This is useful for a quick reference print, but it’s wrong if you want the content at its intended scale.
“Shrink Oversized Pages” is a middle ground: it only scales down if the content is larger than the paper, and leaves correctly sized documents alone. It’s the safest default for everyday printing, but for poster work you want to be explicit — use Actual Size or Poster mode rather than a setting that silently adjusts scale. Adobe’s own poster printing guide covers each option in detail.
Poster mode: tiling a large PDF across multiple sheets
Select “Poster” under Page Sizing & Handling. This mode divides the document into a grid of pages sized for your printer’s paper. A 24 × 36 in poster printed in Poster mode on letter paper will produce roughly 12–18 sheets, depending on the tile overlap you set.
The “Tile Scale” slider controls how large the final assembled print will be. At 100%, you get the file at its native size. At 150%, you get a print one and a half times larger — useful if the original file is A2 and you want to output at roughly A1.
The “Overlap” setting adds a small repeated border to adjacent tiles, giving you material to cut away when joining the sheets. Set overlap to at least 0.1 in (a few millimetres) — this makes alignment easier. Check “Cut Marks” to print alignment lines at the edges of each tile. With cut marks visible, trimming and taping the tiles into a single large print is straightforward.
Custom scale: printing at an exact percentage
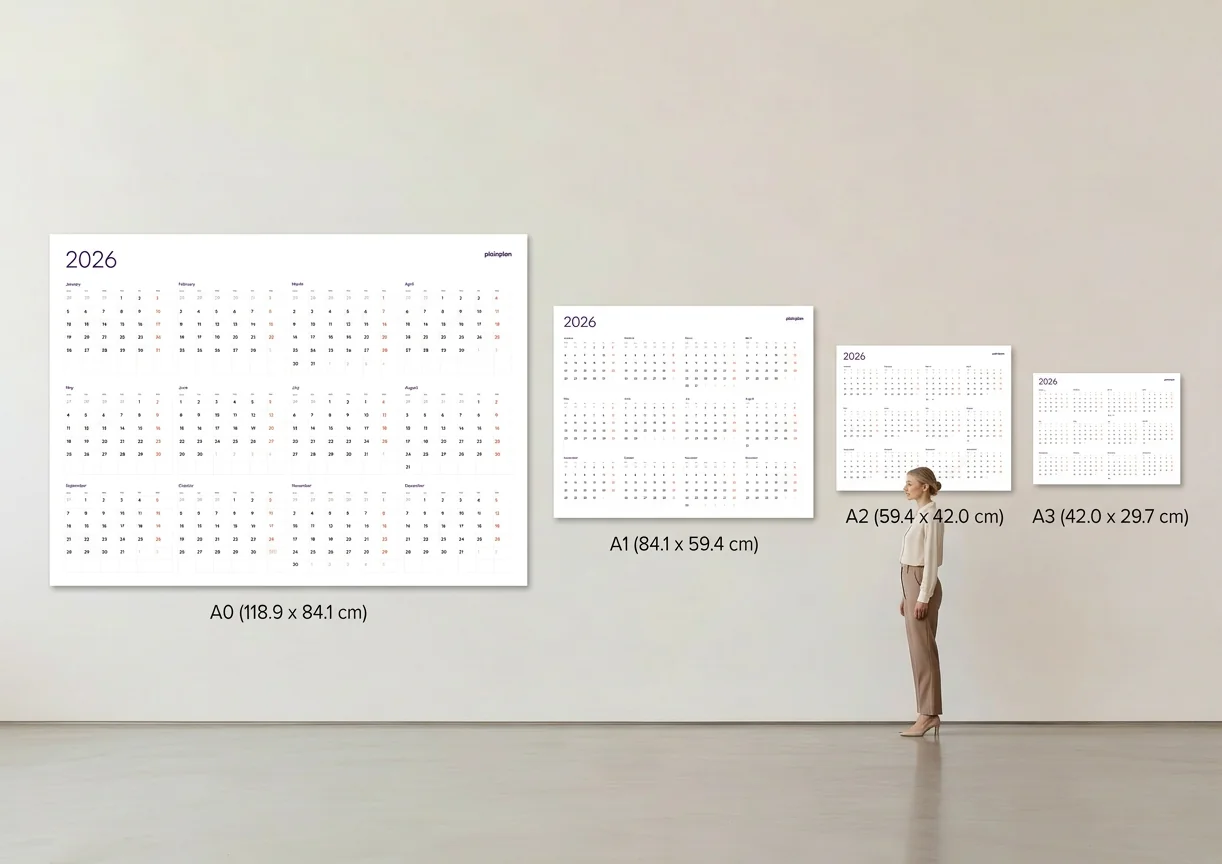
If you want to output a file at a specific size — say, you have an A2 file but want an A1 print — use the “Custom Scale” field in the print dialog. For ISO A-series paper, each step up is exactly 141% (the square root of 2, or √2 ≈ 1.4142). That factor is consistent across every consecutive A-series pairing: A4 to A3, A3 to A2, A2 to A1.
Custom scale also works in reverse: to print a large file at a smaller size for proofing, enter a value below 100%. Entering 50% on an A1 file gives you an A3 proof. This is useful before you commit to a print shop order — print a small reference copy at home first to confirm the layout looks right.
When using custom scale, the print preview in Acrobat updates live. The blue page boundary lines in the preview show exactly where the paper edge falls. Make sure no content you care about sits outside those lines before printing. For a walkthrough specific to wall planners, printing a wall calendar at any size covers the same steps with planner-specific context.
Sending a PDF to a print shop
When you upload a file to a print shop — Office Depot, Staples, FedEx Office, or any local shop — you’re not printing from Acrobat. You’re sending the raw PDF file, and the shop’s software renders it on their large-format printer. In this scenario, your Acrobat print settings don’t matter.
What matters is the file itself. Send the original PDF, not a screenshot or a JPG export. When you place the order online or at the counter, tell them the target size in inches or millimetres and specify “no scaling” or “print at 100%”. Some shop software defaults to “fit to roll width,” which can stretch the content slightly if the roll is wider than the file.
If you want to confirm the file looks correct before sending, open the PDF in Acrobat, switch to Actual Size in the print dialog, and check the print preview. If the content is positioned correctly and no text is clipped, the file is ready.
Why vector PDFs scale to any size without quality loss
A raster image — JPEG, PNG, TIFF — is made of pixels. Scale it up past its native resolution and the pixels become visible as blur or blockiness. A vector PDF stores shapes, lines, and text as mathematical descriptions rather than pixels. Acrobat can render those paths at any resolution, at any size, with no loss of sharpness.
This means a vector wall planner PDF can go from A4 to A0 and back again without quality degradation. The file doesn’t change — the renderer recalculates the paths at whatever output resolution the printer requires. Most large-format poster printers output at 300–1200 DPI, and a clean vector file looks identical at any of those settings.
To confirm your PDF is vector-based, zoom in to 400% in Acrobat. If text and lines stay crisp — no blur, no stair-stepping on diagonal edges — the file is vector. If they soften or pixelate, the file contains raster elements and will have a resolution limit. PlainPlan is a vector PDF. For more on why that matters, the case for vector PDF goes deeper on the format.
Frequently asked questions
“Actual Size” prints the PDF at its defined dimensions with no scaling — the correct setting for a print shop. “Fit” scales the document up or down to match the printer’s paper size, which is useful for quick home reference copies but wrong when you need the content at its true scale.
Each ISO A-series step up (A4 to A3, A3 to A2, A2 to A1) is a scale factor of √2 ≈ 141%. This comes from the A-series aspect ratio design: all sizes share the same proportions, so scaling by √2 exactly doubles the area and steps up one size.
An A1 sheet (841 × 594 mm) printed in Poster mode on A4 (297 × 210 mm) produces approximately 8 tiles at 100% scale, depending on the overlap setting. Adding overlap increases the tile count slightly but makes assembly easier.
No. When you upload a PDF to a print shop, their software renders the file directly. Your Acrobat print settings have no effect. Tell the shop the target size explicitly and request “no scaling” to ensure the file prints at its intended dimensions.
Sources
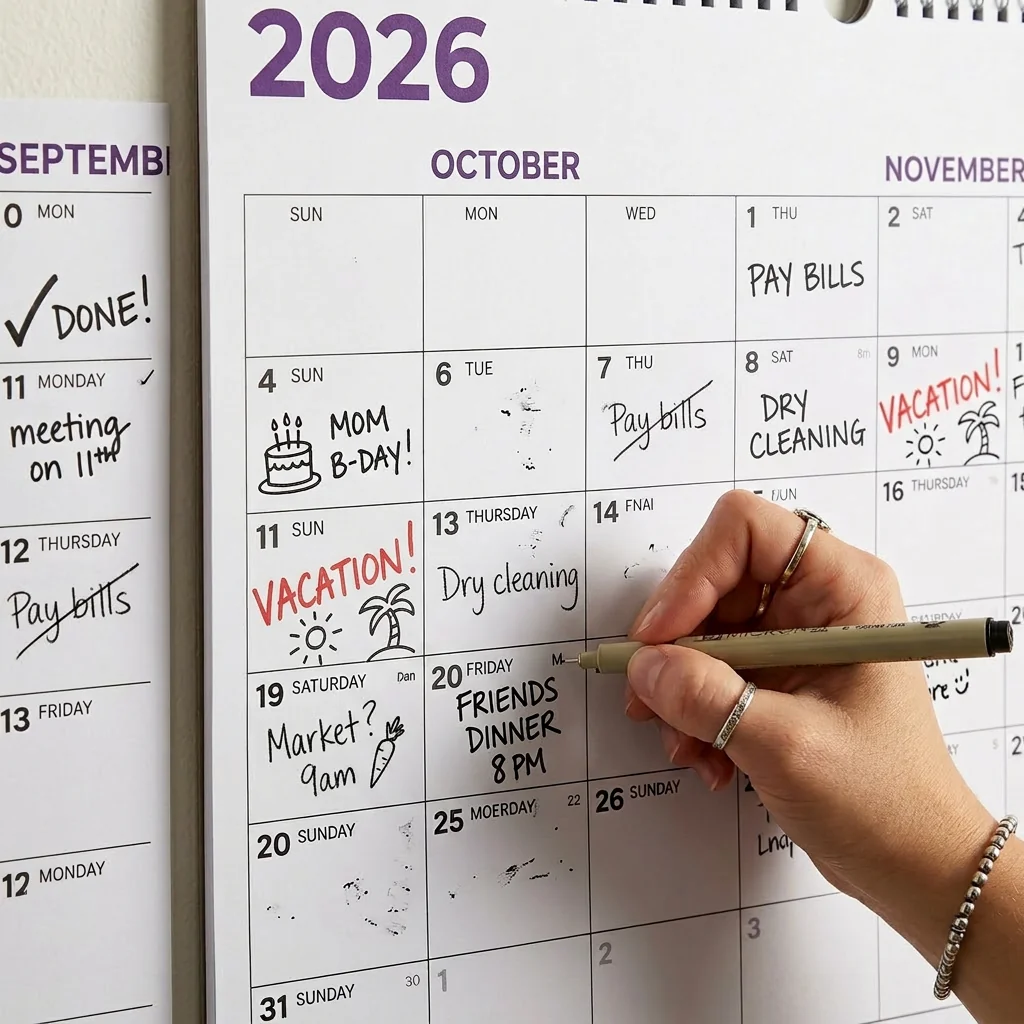
Your year. Your wall.
One file. Any wall. Always sharp.